Mounting Projector To Side Wall

Mount Vp03b Universal Projector Wall Mount By Vivo Youtube
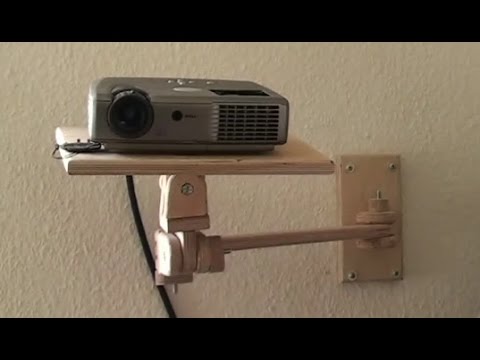
Building A Projector Wall Mount Out Of Plywood Youtube

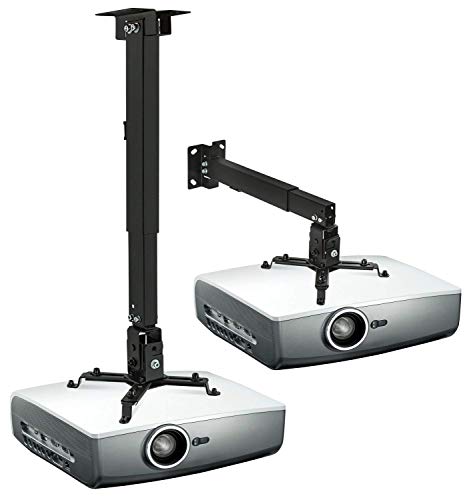
Amazon Com Elitech Projector Wall Mount Home Audio Theater

My Apartment Theatre Home Projector In Bedroom Home Theater Seating

Projector Shelf Ideas Projector Shelf Diy Projector Family Room Decorating

How To Run Power To A Ceiling Mounted Projector The Home Theater Diy

It offers multidirectional positioning with four adjustable support arms that can fit a wide range of mounting holes.
Mounting projector to side wall.
The 11 Best Projector Mounts On The Market The Home Theater Diy

Diy Mini Projector Wall Mount No Drilling Quickcrafter Projector Wall Mount Mini Projectors Projector

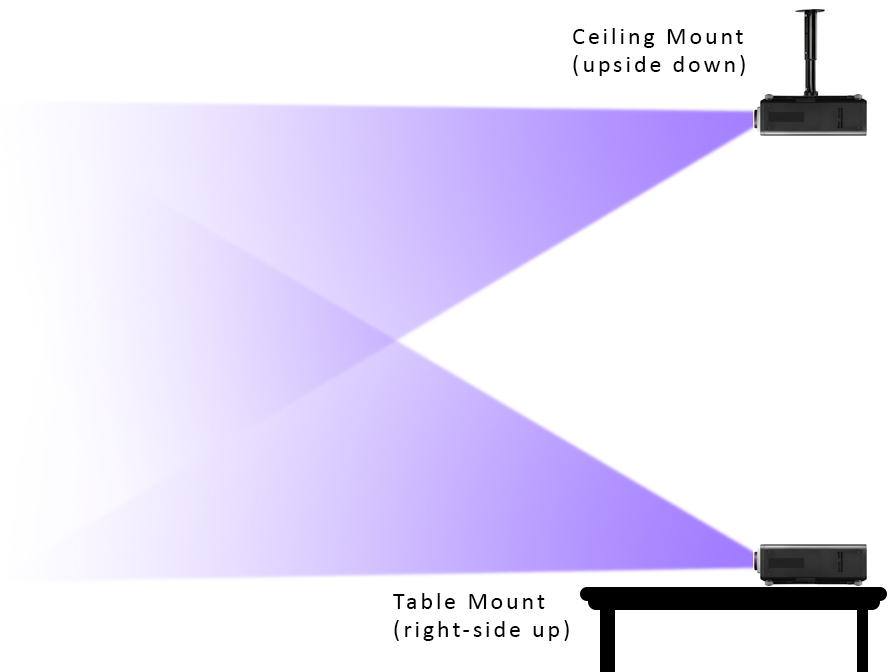
Does A Projector Need To Be Centered Mount A Projector Off Center
Rigging A Projector To An Electric Matt Kizer Scenic Lighting Design
Source : pinterest.com
